In today's rapidly evolving e-commerce landscape, businesses are increasingly adopting headless commerce solutions to enhance flexibility and performance. One powerful combination is integrating Shopify with Xperience by Kentico. This integration brings together Shopify's robust e-commerce capabilities and Kentico's versatile Digital Experience Platform, enabling you to create seamless and dynamic online experiences.
In this blog post, we will walk through the steps to seamlessly integrate Shopify with Kentico. By leveraging the strengths of both platforms, you can create a powerful e-commerce solution that meets your business needs.
Kentico is diligently planning and scoping its native e-commerce functionality to be included in future versions of Xperience by Kentico. In past versions, Kentico's native e-commerce features have been a significant selling point, particularly due to their high level of customisability.
New E-Commerce Integrations
Until native e-commerce is released for Xperience by Kentico, you can utilise the newly released integration for Shopify - an e-commerce platform that allows individuals and businesses to create online stores for selling products and service.
Alternatively, you can use the other integration released for Kentico Xperience 13, allowing you to use your existing e-commerce store as a headless offering for your new Xperience by Kentico application.
At IDHL, we are passionate about both Kentico and Shopify. Therefore, an open-source integration that combines these two platforms excites us greatly. Over the years, we have successfully integrated Shopify as a headless e-commerce platform with various CMS/DXPs, and we are enthusiastic about continuing this with the seamless integration with Xperience by Kentico. Let's explore how the integration works.
Support
The first thing I noticed when opening the GitHub repository is that Kentico fully supports the integration with their 7-days bug-fixing policy. This is great news, as it assures clients that any reported bugs will be addressed promptly, providing them with the confidence in using the integration.
Functionality
The initial release of the integration allows for adding and removing products from a customer's basket, adjusting quantities, applying or removing discount coupons, and completing the transaction on Shopify's checkout pages.
Setting up the Shopify Store
First, you'll need to set up a Shopify store and add the products you want to sell on your Xperience by Kentico web channels.
Once your store is set up, obtain the necessary API credentials to allow your Xperience by Kentico site to import product data and forward basket information for completing purchases through the Shopify checkout. You can find a step-by-step guide in the Usage Guide.
Install the Shopify integration
To add the integration itself to your Xperience by Kentico application, you'll need to add the following two packages using the .NET CLI:
dotnet add package Kentico.Xperience.Shopify
dotnet add package Kentico.Xperience.Shopify.Rcl
Now we need to register the Shopify integration services within the .NET application:
// Program.cs

// Registers Shopify services
builder.Services.RegisterShopifyServices(builder.Configuration);
We also need to make sure session state is enabled:
// Program.cs

// Enable session state for appliation
app.UseSession();
The next step is to configure the API credentials you've created in the previous step, there are two ways of approaching this.
The first approach which should only really be used in development, is to configure inside the new Shopify integration application.

The second approach is to use the same API credentials, but store them directly within appsettings:
{
"CMSShopifyConfig": {
"ShopifyUrl": "https://your-shopify-store-url.com/",
"AdminApiToken": "xxxxxxxxxxxxxxxxxxxxxxxxxxxxxxxxxx",
"StorefrontApiToken": "xxxxxxxxxxxxxxxxxxxxxxxxxxxxxxxxxx",
"StorefrontApiVersion": "YYYY-MM"
}
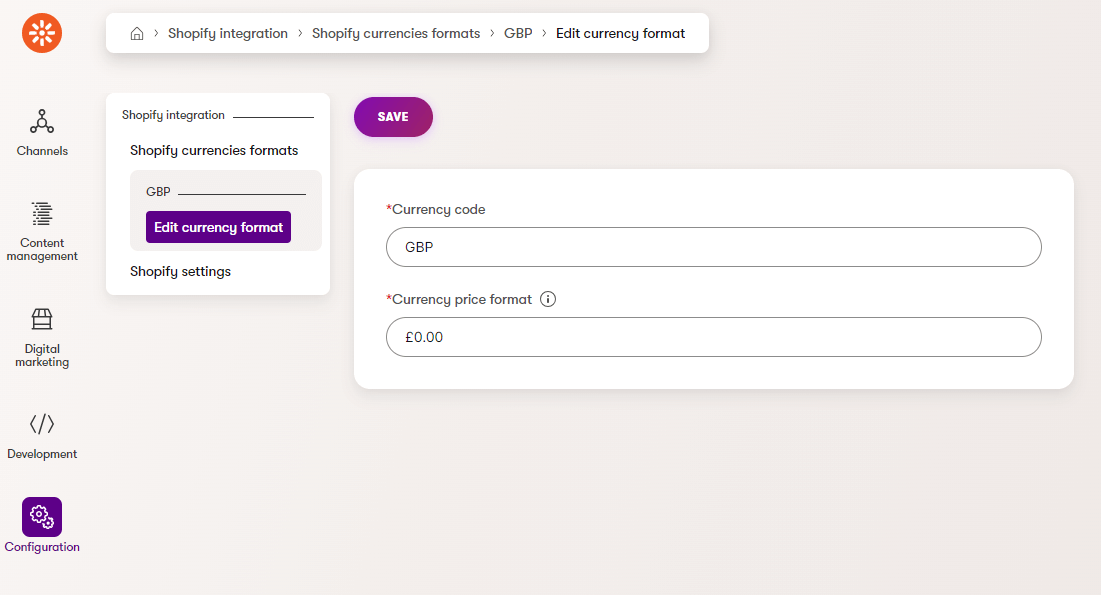
}Inside the Shopify integration module, you need to configure a currency to use on the store, here I am configuring GBP as the available currency:
Restore Shopify objects
You should restore the Content Types provided in the GitHub repository using Continuous Integration, the files you need are located in this folder.
You might also want to copy, or use for inspiration, the widgets and controllers in the Example DancingGoat solution.
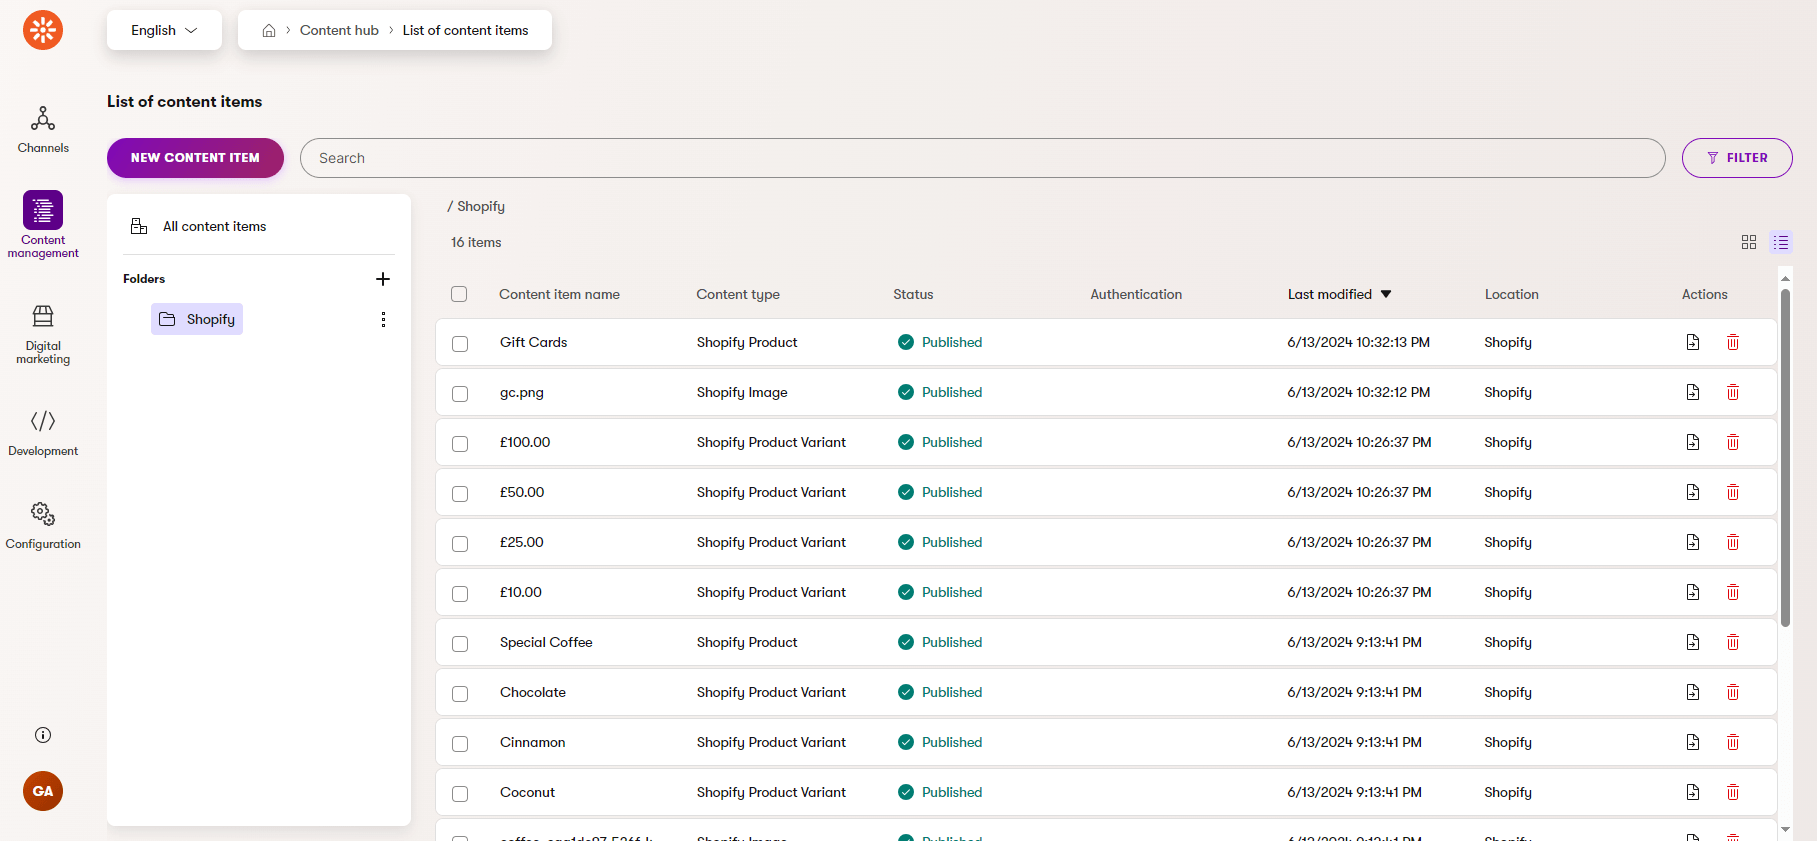
Product import task
When your Xperience by Kentico site starts up, a task runs to import Shopify data into your application. This task executes periodically every 15 minutes to synchronise products into the Content Hub, including product metadata, images, pricing, and variants.
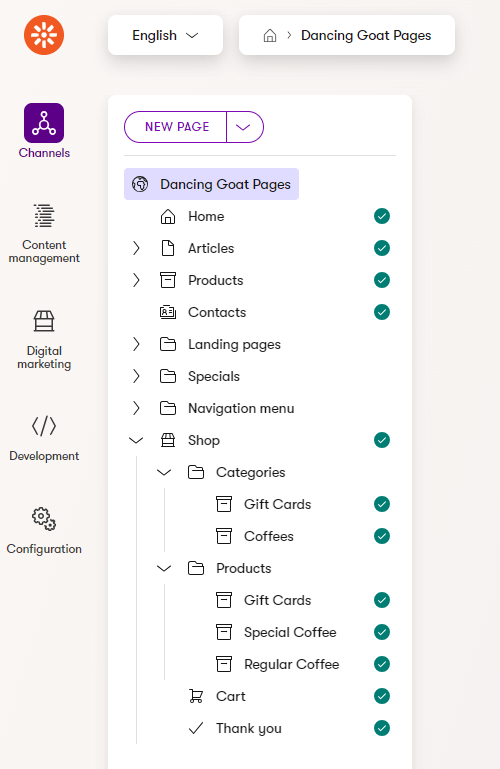
Create content structure
The final step is to create the store within the web channel's content tree using the Content Types restored via Continuous Integration. For inspiration, you can follow a similar pattern to the one shown below:
Integration Summary
Here's a quick recap of the steps taken:
Set Up Shopify Store:
- Create your Shopify store.
- Add products to your store.
Obtain API Credentials:
- Generate API credentials in Shopify.
- Follow the step-by-step guide in the Usage Guide.
Configure Xperience by Kentico:
- Ensure your Xperience by Kentico site is set up.
- Import Shopify data by ensuring the initial synchronisation task runs.
Create Store Structure:
- Use the Content Types restored via Continuous Integration.
- Build the store in the web channel's content tree following the provided pattern.

Conclusion
If you need e-commerce functionality with Xperience by Kentico and can't wait for the native e-commerce release, I highly recommend using the Shopify integration.
There's no need to worry about the complexities of integrating with Shopify - just set up and configure the integration, create the store structure in the content tree, and you're ready to go!
This solution is also advantageous for end clients, as agencies can save on integration costs, making it a cost-effective option.